
A Perfect Ten
 While it may be a splurge to get a manicure in a fancy salon, it doesn't mean you have to walk around with raggedy nails in the meantime. Devote time to a do-it-yourself manicure that rivals salon quality care, at a fraction of the cost.
Start by removing all traces of old nail polish with a non-acetone nail polish remover. It will take a bit more time to remove your polish, but by using non-acetone, you won't strip your nail bed of vital proteins, called keratins, that safeguard against brittleness.
Wash your hands with a mild soap in warm water, using a nail brush to thoroughly cleanse any dirt under your fingernails.
While your hands are slightly damp, use a new orange stick to gently push back your cuticles. Orange sticks come in many varieties. Plastic sticks will be tough on cuticles, but will provide the most sanitary tool. Wooden sticks are the most gentle, but should be tossed after you complete your manicure, because bacteria loves a porous substance.
From time-to-time, your cuticles will catch a snag and you will be tempted to cut them back. It's a gamble to cut your cuticles, because you set yourself up for a risk of infection or sores. If you must trim a stray cuticle, use a professional-quality cuticle nipper like this one from Sephora.
Decide on a nail shape based on the size of your fingers and the shape of your cuticles. Slender hands with long, graceful fingers can pull off most any nail shape, especially oval, but smaller hands with shorter, fuller fingers look best with rounded or squared nail beds. An easy way to decide which nail shape will look best on you is to view your cuticles. If your cuticles are rounded, a round nail shape is ideal. If your cuticles are squared, a flattering nail shape is squared.
When you decide on a nail shape, cut your nails at an even length, straight across, to prevent ingrowns. Then, using a fine-grained emery board, file your nails in one direction, gently forming the nail into the desired shape. Filing in a back-and-forth motion weakens your nail bed and increases the potential for future nail snags.
Natural and bare nails are hot this season and high-shine can be achieved without the use of a nail polish. Purchase a multi-sided buffer to eliminate scratches, ridges and imperfections from your nail bed. Don't forget the underside of the tip of your nail for the ultimate smoothness. Nail polish won't adhere well to freshly buffed nails, so skip this step if you prefer polish.
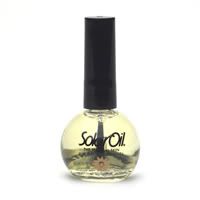 For supersoft hands and healthy cuticles, massage a rich lotion into hands and vitamin e oil or oil-based polish treatment into cuticles. If you have extra time, wrap hands in cellophane and steam in two damp washcloths, microwaved until warm. Be careful not to burn yourself! Before you polish, dip a q-tip into nail polish remover and swab on each nail bed, removing excess oil. Nail polish won't stick to an oily surface.
Utilize basecoats and topcoats that double as a treatment. Try one of the following:
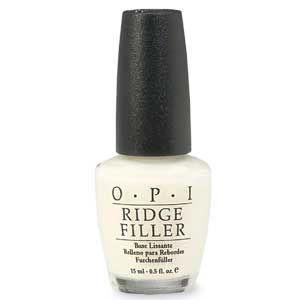 Unfortunately, nail ridges are genetic and you will never be able to get rid of them. But the good news is that you can disguise them. OPI Ridge Filler evens out the nail surface, enabling a smooth palette for painting.
For strong nails, start and finish with Sally Hansen Diamond Strength Instant Nail Hardener. Not only does this potent formula reinforce weak and brittle nails, but it leaves a brilliant shine that is fabulous when worn on top of colored polish or alone.
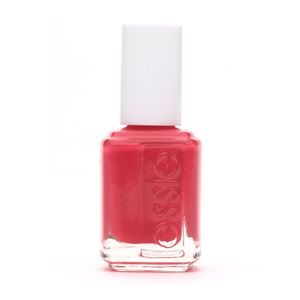
Choose nail polishes that are formaldehyde-free, like OPI or essie polishes. Formaldehyde formulas chip and fade easily. Polishes that are formaldehyde-free are generally three times as expensive as typical drugstore brands, but are gentler on your nails and last much longer.
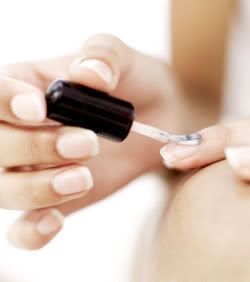
Never shake a nail polish bottle. Excessive shaking creates air bubbles that dry in a pod-like pattern on top of nails. Instead, roll the bottle of nail polish smoothly between palms to evenly mix polish.
Begin by painting a wide strip down the center of the nail, quickly following with two side strips to complete nail surface. If you accidentally miss a spot, wait until the first coat dries and follow-up with second coat. Give plenty of time to dry, at least five minutes between coats, and 15 when finished.
With a little TLC, you can create a perfect ten, boasting your own fashionable personality!
posted by F. Nashville @ 6:47 AM
![]()
![]()

<< Home